Want to use your Swipey card to pay for your Google Ads campaigns? While other prepaid cards are not accepted, we’ve got you covered! This guide walks you through the steps to make one-time payments using your Swipey card quickly and hassle-free.
Whether settling your current balance or making a custom payment, follow this simple step-by-step process to keep your campaigns running smoothly—without any payment hiccups.
Step 1: Create a new Virtual Card and call it a "Google Ads card" on your Admin Dashboard. (Psst, need a virtual card for your Google spend? Let us know! 😉)
Watch the following video for next steps, OR head to step by step below -
Watch the following video for next steps, OR head to step by step below -
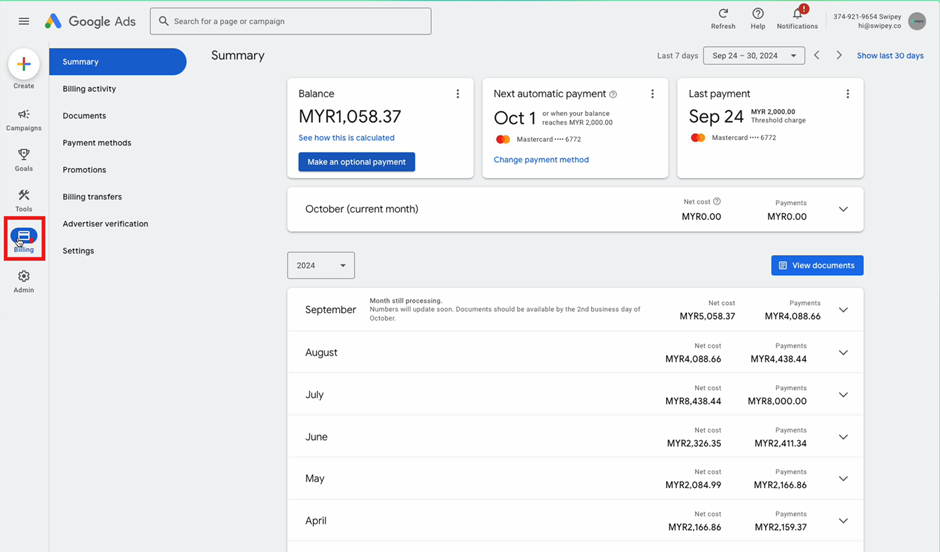
Step 2: Navigate to the Billing Tab
Head over to your Google Ads account and click on the Billing tab.
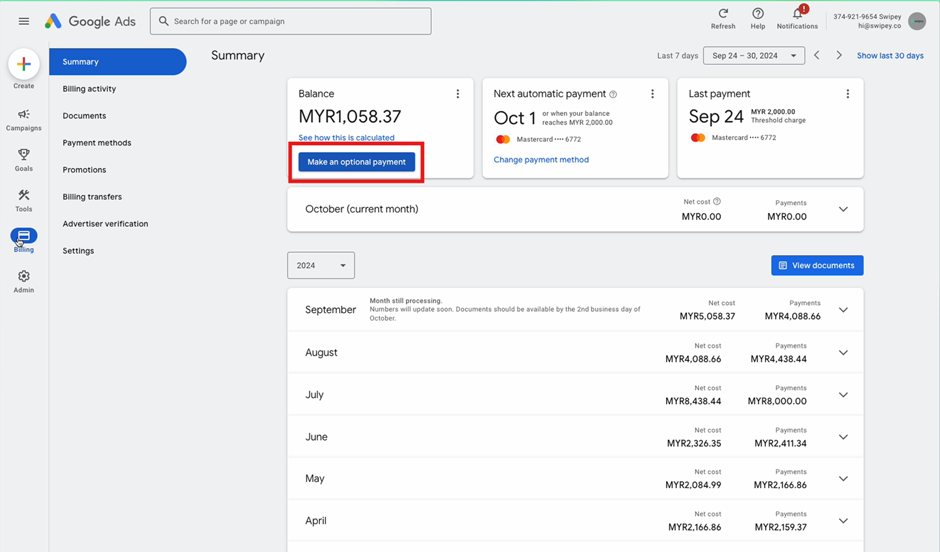
Step 3: Select "Make an Optional Payment"
Instead of adding Swipey as a payment method (which isn’t supported right now—don’t worry, we’re all in the same boat), click on the "Make an optional payment" option.
Step 4: Switch to the Swipey Card
If you already have another credit card set up, simply replace it with the Swipey card. Alternatively, you can add the Swipey card details directly in this section.

Step 5: Select Your Payment Amount
After adding your Swipey card details, click on the current balance or, enter a desired amount.
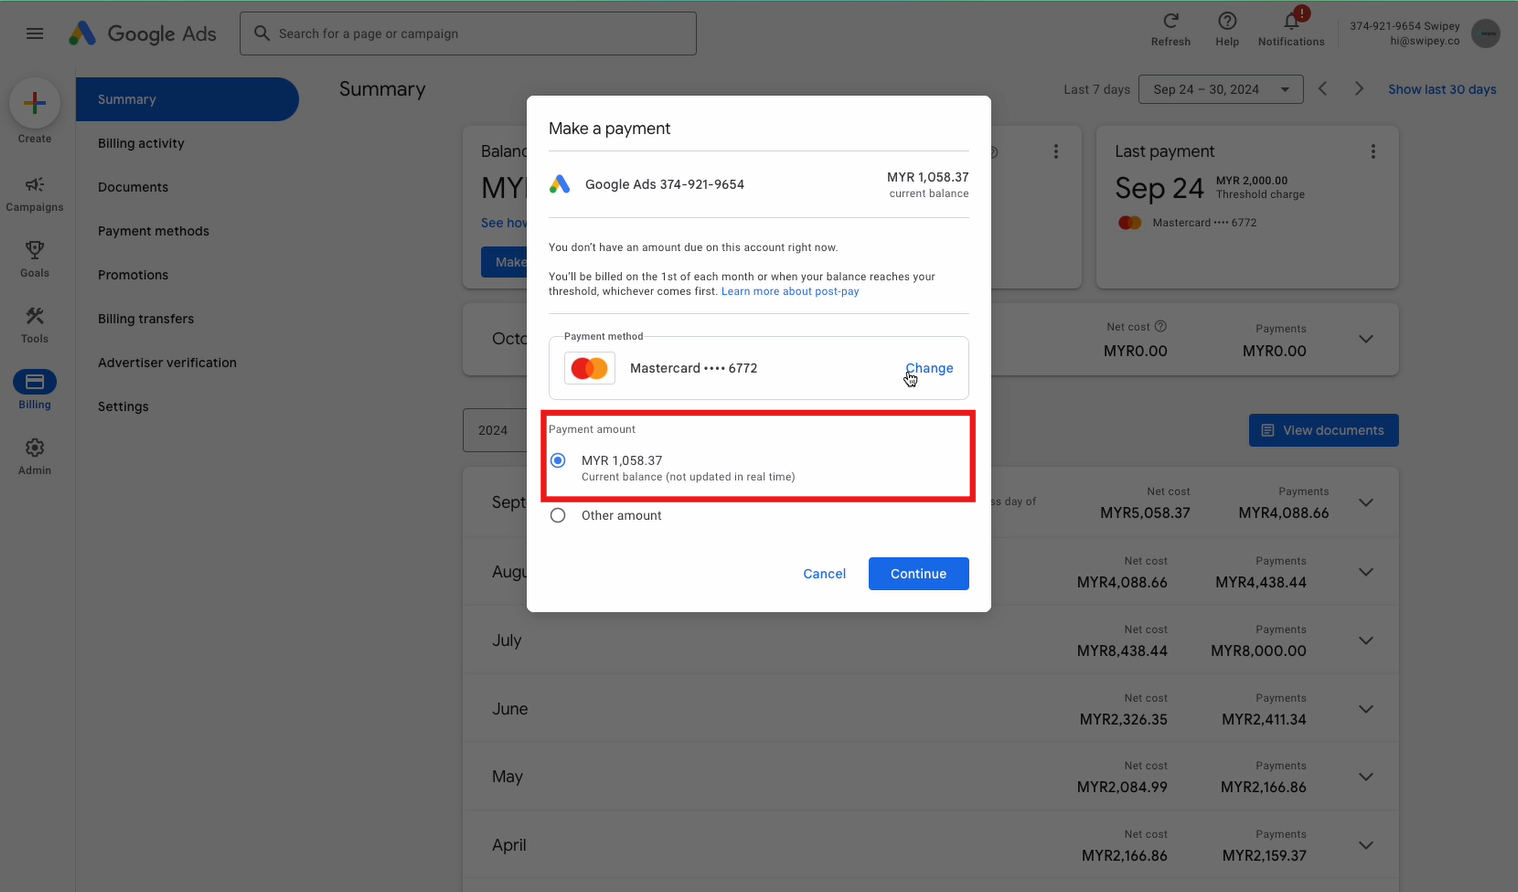
Step 6: Confirm Your Payment
Complete the transaction to make your payment.
💡Quick reminder! Every time you want to pay with your Swipey card, you'll need to repeat step 5 in the Billing Summary section. Why? Because Google Ads doesn’t play nice with prepaid cards like Swipey for auto-deductions—for now!