
This article walks you through connecting your QuickBooks Online account to Swipey. The process takes about 2 minutes — you'll log in via a secure pop-up and Swipey handles the rest.
Make sure you have your QuickBooks Online login credentials ready and that you have admin access to the company you want to connect. If you use multiple companies in QuickBooks, you'll be able to choose which one to link during the login step.
From your Swipey dashboard, click on Accounting in the left sidebar. You'll see the three available integrations: QuickBooks, Xero, and Bukku.
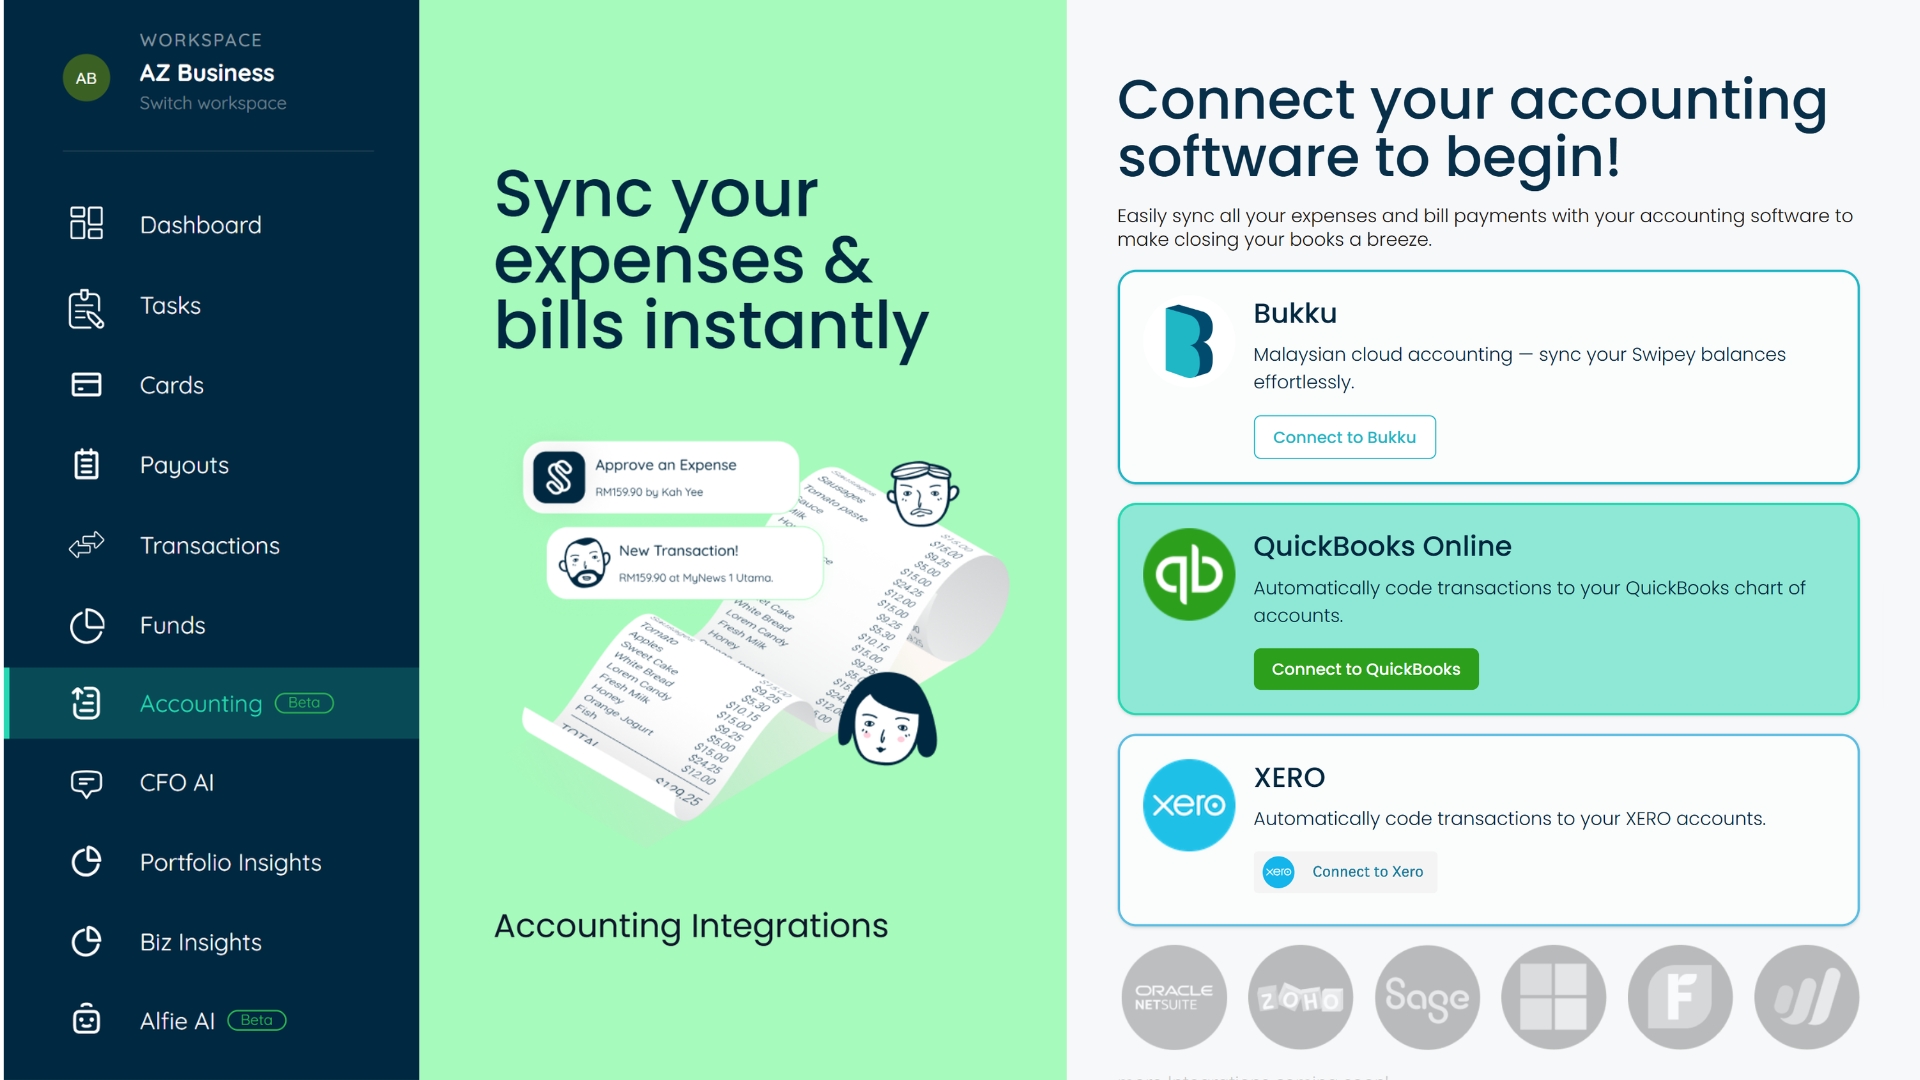
Click on the QuickBooks option. A secure login pop-up will appear — this is powered by Rutter, the service that manages the QuickBooks connection on Swipey's behalf.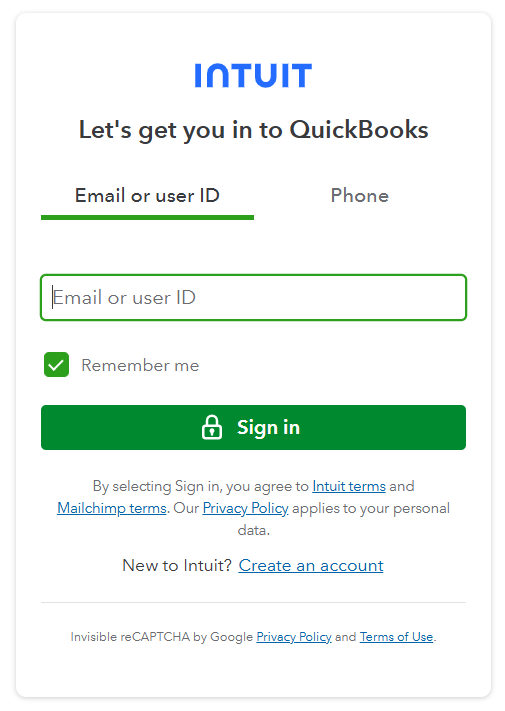
In the pop-up, enter your QuickBooks email and password. If you manage multiple entities in QuickBooks, you'll see a dropdown, select the company you want to connect to Swipey.
Then click Allow Access to authorise the connection.
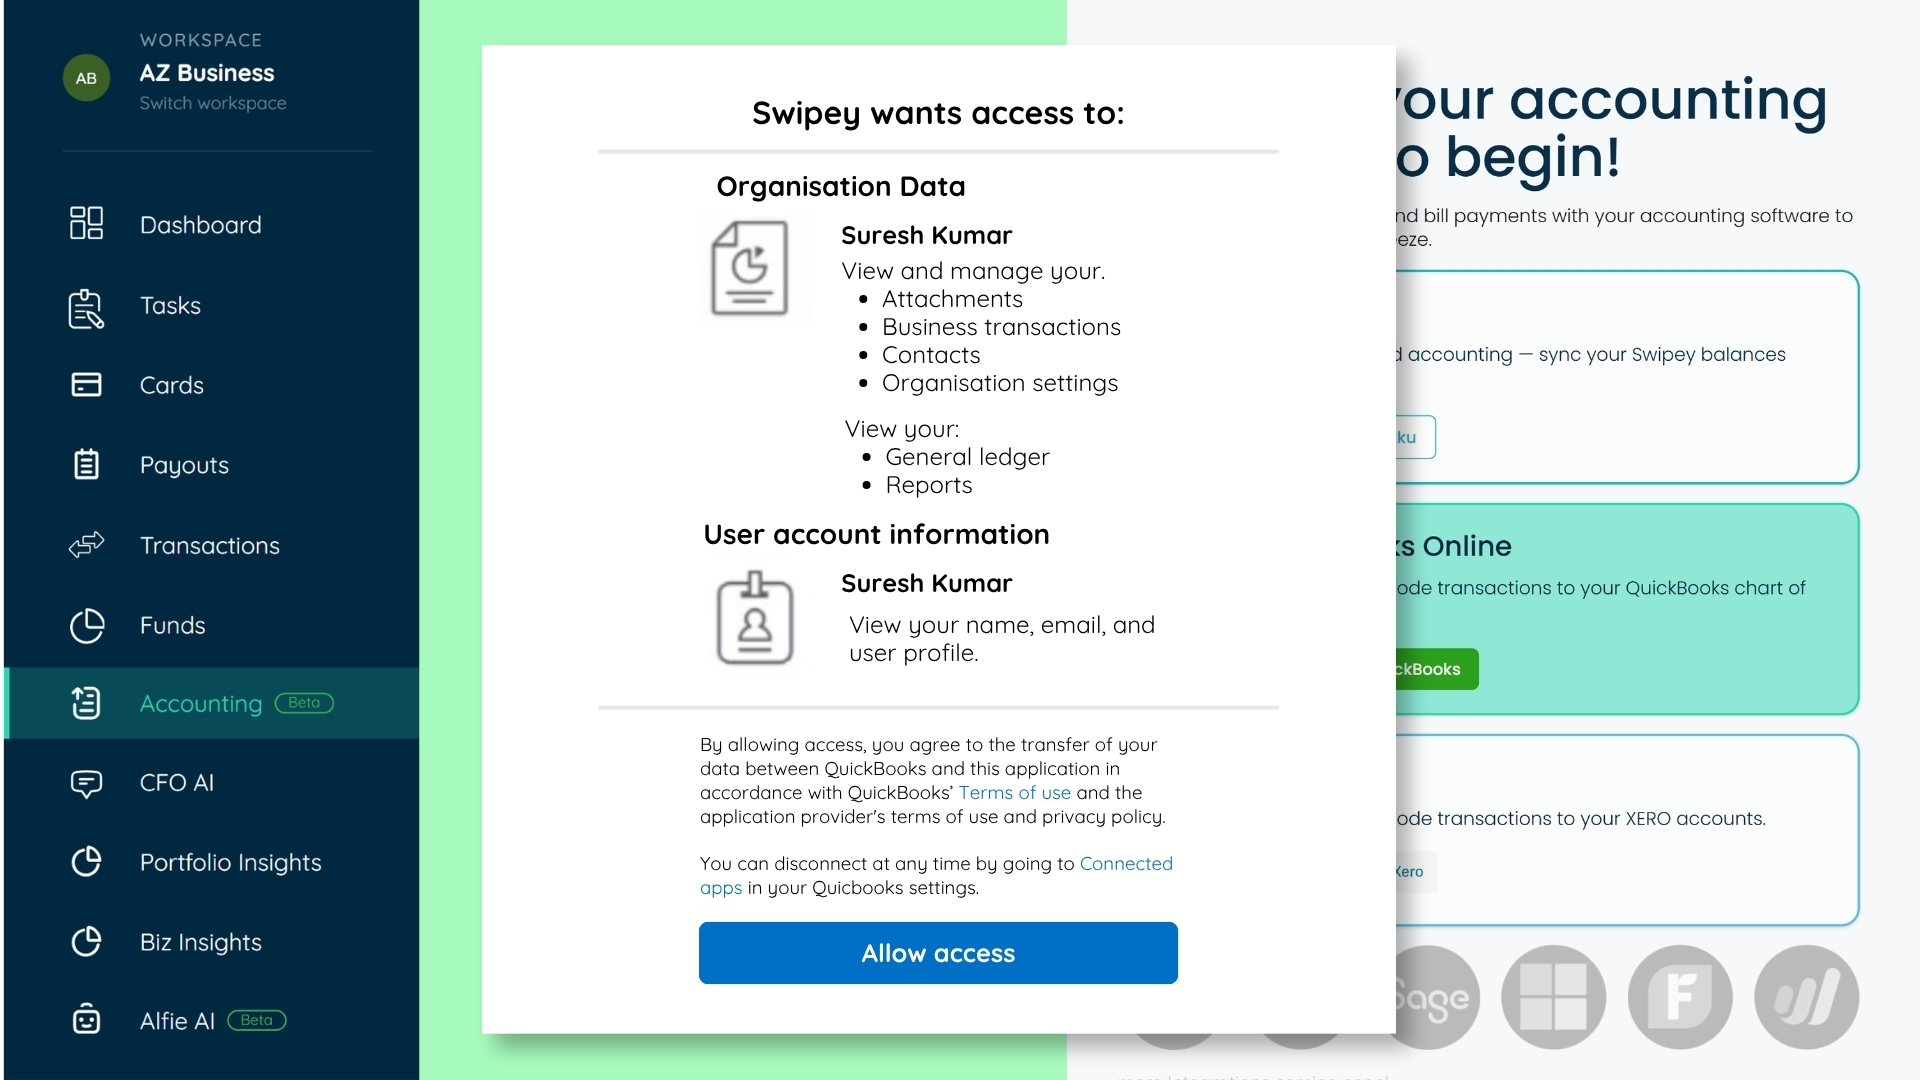
Once you click Allow Access, the pop-up will close and you'll be brought back to Swipey. You'll see a message: "We are connecting, please check back later."
This is Alfie (our AI setup assistant) reading through your QuickBooks Chart of Accounts to find any existing Swipey accounts. This usually takes just a few seconds.
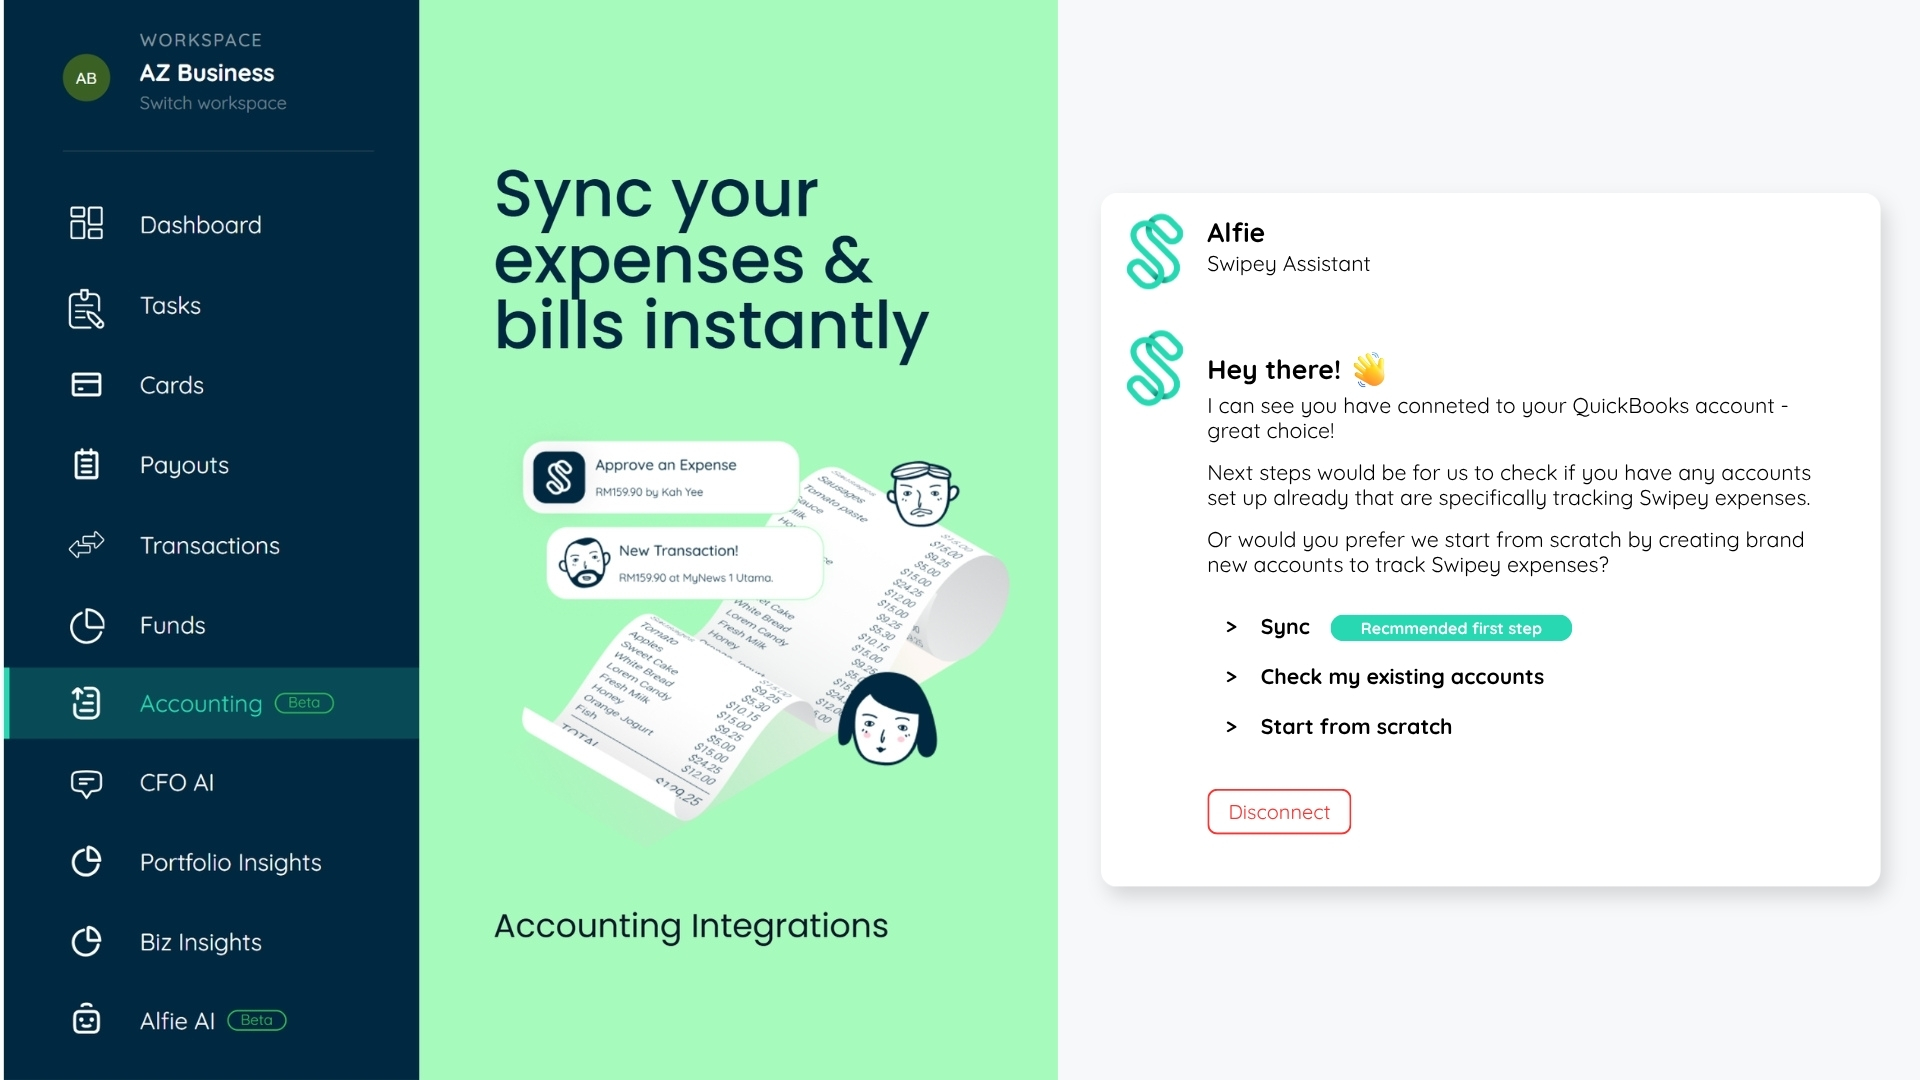
Once Alfie finishes scanning, you'll be taken to the account setup screen. Your QuickBooks is now connected! The next step is to link your Swipey accounts to the right entries in your QuickBooks Chart of Accounts.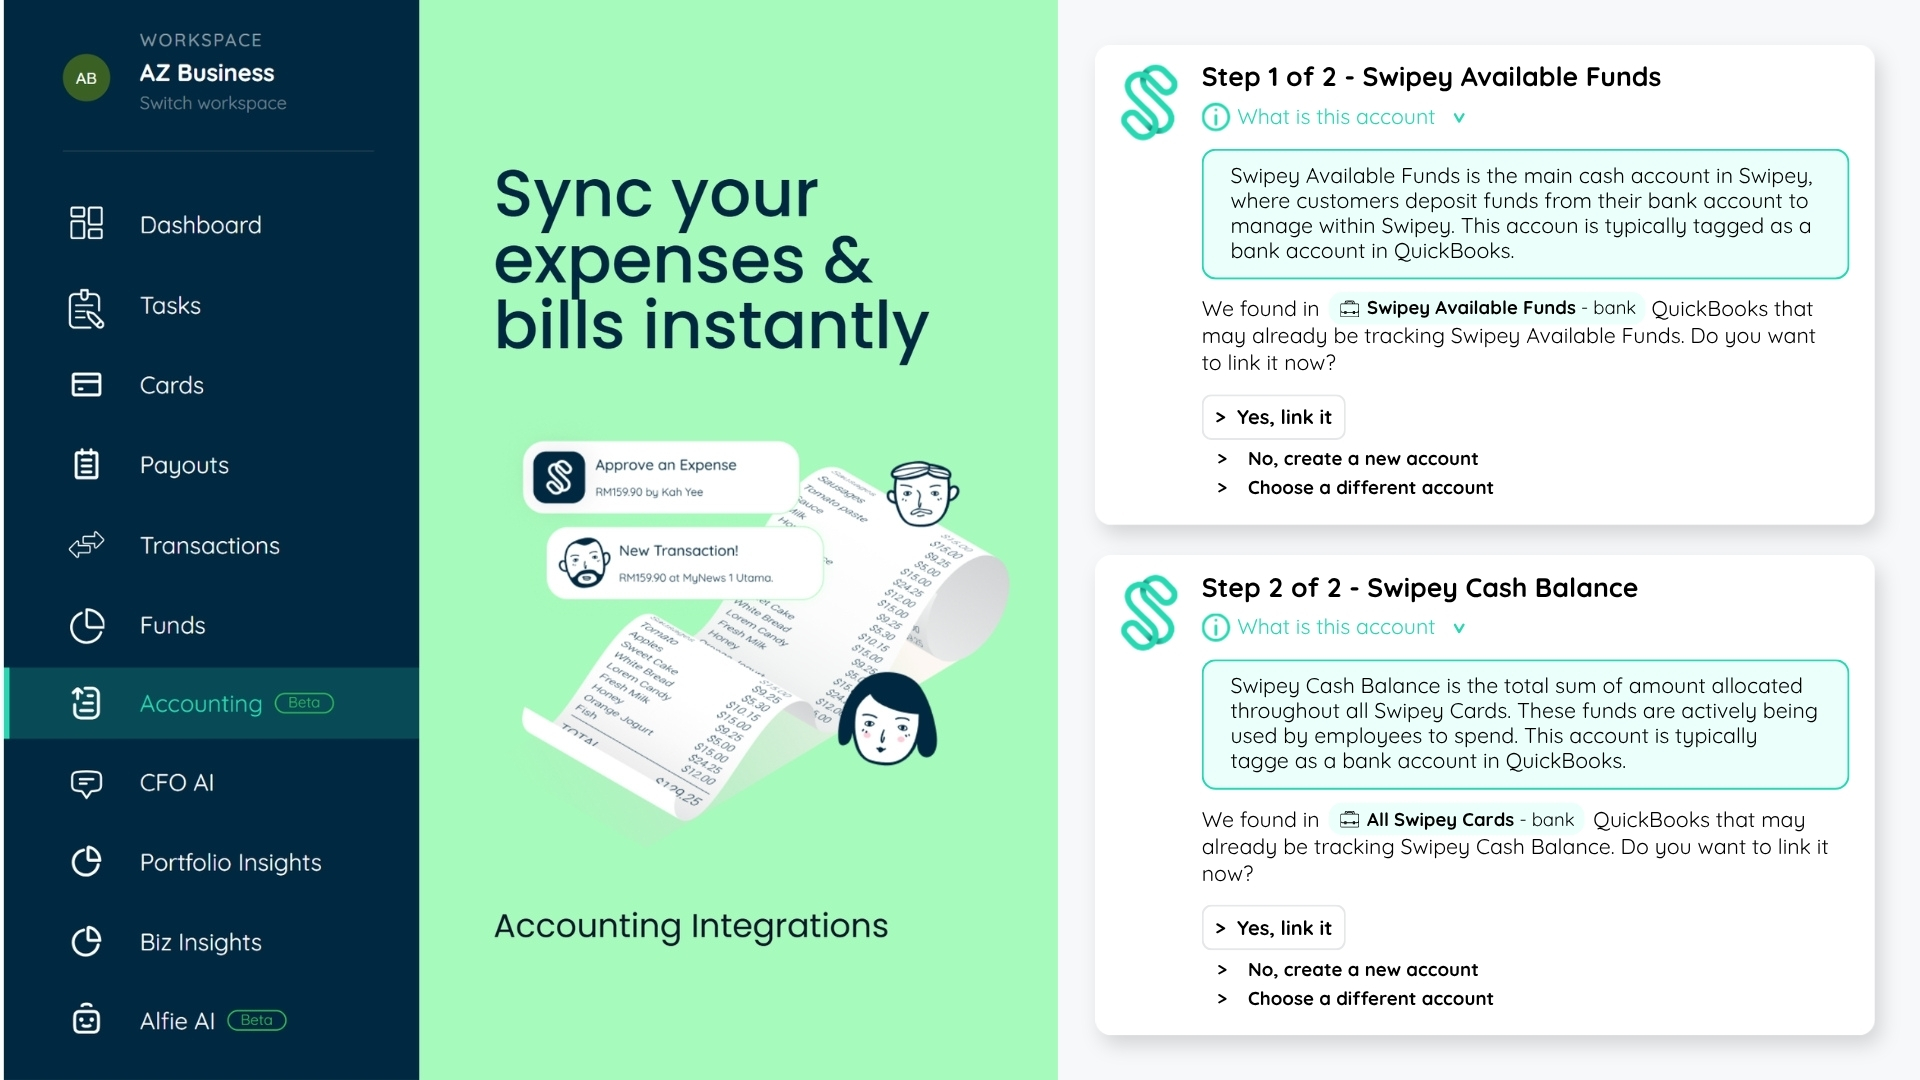
➡️ Next step
⚙️Once connected, avoid disconnecting your QuickBooks account. Disconnecting may cause your sync settings to be lost. If you run into issues, contact the Swipey support team first.