Multi-entity lets you manage all your companies from one Swipey login — each with its own cards, budgets, and admins, all accessible without logging out.
Which situation applies to you?
New to Swipey, or only one company registered
Register your first entity, then request to add more.
Sign up at swipey.co/register and complete KYB verification for your entity. Your first workspace is ready immediately after approval.
Each entity goes through its own KYB verification. Once approved, it will appear as a separate workspace under your account.
For any inquiries, reach out to us:
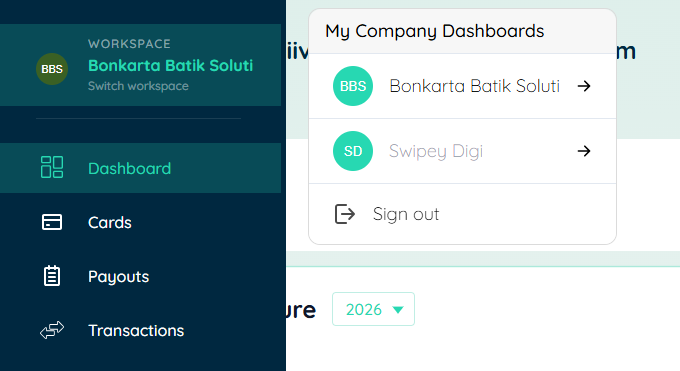
Once all entities are verified, you'll see a My Company Dashboards switcher at the top left of your dashboard. Click it to jump between entities instantly — no extra login needed.
Multiple entities already registered separately on Swipey
If your companies were set up as separate Swipey accounts, link them under one login by inviting yourself across entities.
It doesn't matter which entity you start from.
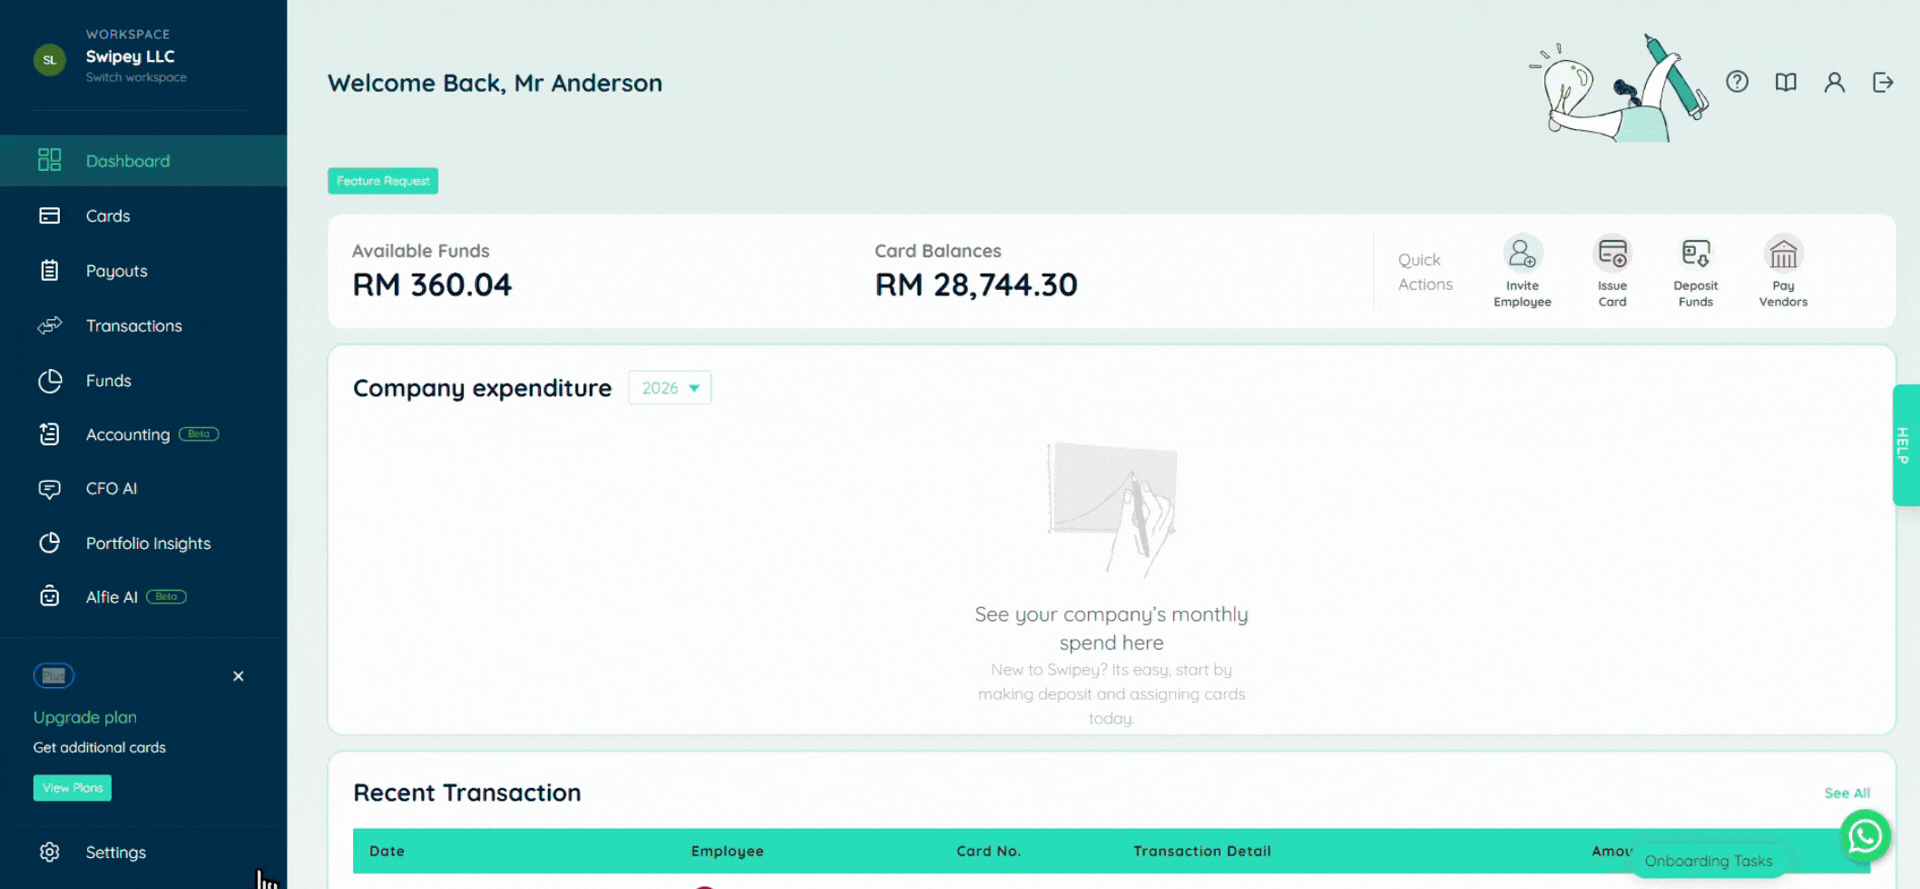
Click on Settings at the bottom left of your account, select the Employees tab, then click the Invite Employee button on the right.
Enter the following details:
- Phone number — must be the same phone number registered on your other entity. This is how Swipey recognises you as an existing user. The person being invited must also have already completed eKYC verification on Swipey.
- Email address — can be the same or a different email. You can use a unique email per entity if preferred.
- Name — enter as preferred for this entity.
Swipey will automatically detect your existing account via the phone number and link both entities under your login.
You'll see the My Company Dashboards panel at the top left. Use Switch workspace to move between entities.

✅ Once your entities are linked
- Each company has its own cards, budgets, transactions, and admins — nothing mixes
- Switch between dashboards instantly from the top-left switcher
- Invite different team members to each entity separately
- Each entity can have its own email address for the same person — no need to use the same one everywhere
💡 Good to know before you start
A couple of things to keep in mind as you set up your entities.
When you forward bills to bills@swipey.co, they will always be created under the first company you added to your account — regardless of which entity the bill is intended for.
Workaround: For bills belonging to other entities, upload them manually from within the correct company workspace.
You cannot connect the same accounting account (e.g. the same Xero or QuickBooks account) to more than one Swipey workspace. Each entity requires its own separate accounting connection.